


 Current
location:
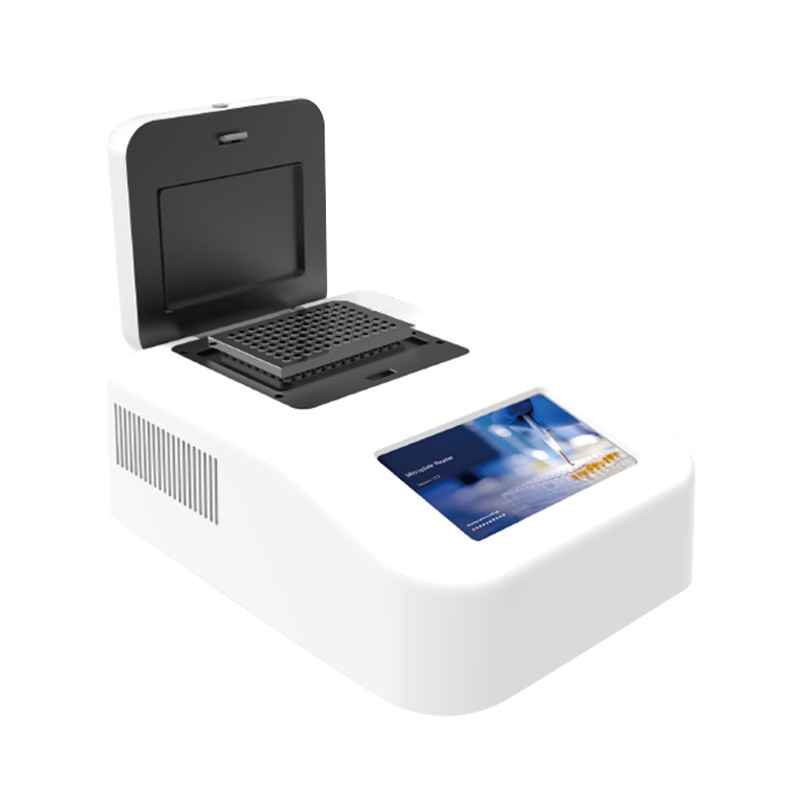
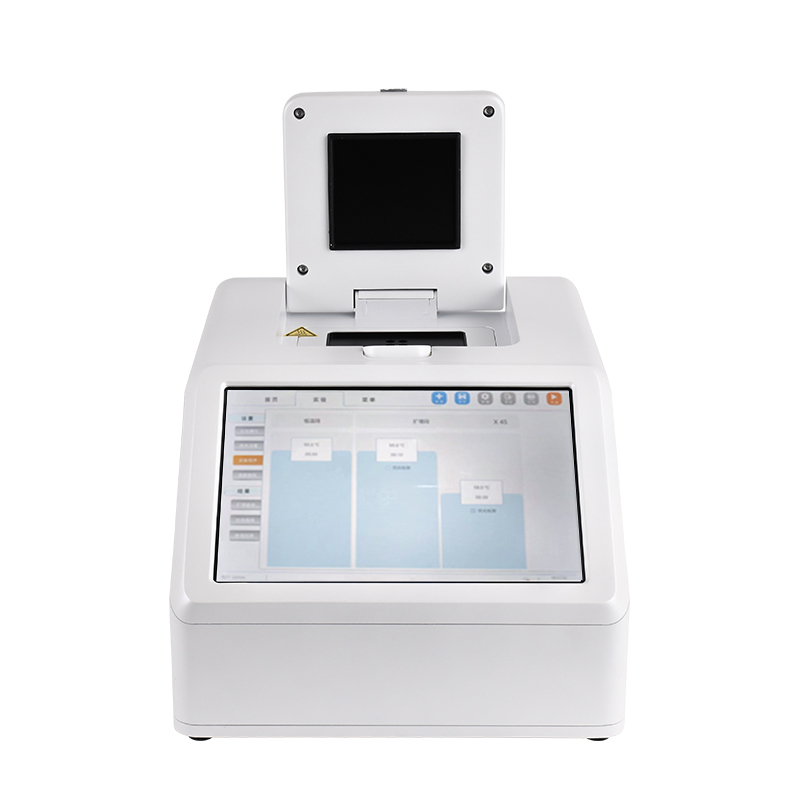
A gradient thermal cycler is easier to operate and review when the lab keeps three records together: the programmed profile, the displayed temperature map and the physical vessel layout. The HM-T96 from HENG MEI Intelligent Manufacturing provides a built-in gradient calculator and a thermal profile display. This guide explains how to read those controls, qualify the equipment with a non-biological bench check and document changes in a shared molecular biology laboratory.
Distinguish the temperature map from the displayed profile
The profile shows the programmed sequence over time. The map shows how settings are distributed across positions during a gradient stage. An operator should be able to answer both “which stage is active?” and “which positions are associated with which values?” Ask a second person to point to the same positions on the instrument or printed layout before the first use of a saved setup. Decide how the block is oriented relative to the front of the instrument. Use that orientation on the worksheet, even when the user has turned a rack or printed a map in landscape orientation.
The HM-T96 specifications distinguish a general temperature range of 0–99.9 °C, a gradient temperature range of 30–99.9 °C and a lid range of 30–110 °C. An allowable range does not specify the position-by-position distribution for a given setup. Read and record the distribution the controller actually displays. The product information also lists module and test-tube temperature-control modes. Record which one the laboratory chose and have the operator confirm it from the interface before accepting the program as ready. Ask the supplier to demonstrate how the mode is represented on the run screen and how the setting behaves when a stored program is reopened.
Set up a bench check with a clear pass condition
Begin with an approved functional check using empty compatible vessels or the lab's approved non-biological test fixture. Use the instrument instructions for opening and closing the lid, positioning the fixture and meeting electrical and clearance requirements. At installation, record the equipment designation, serial number, site and operator. Inspect the block and lid for visible damage or residue. The equipment supplies 96 positions for 0.2 mL vessels. Check the exact consumables specified for your configuration rather than inferring fit from the nominal volume alone.
On the touchscreen, open a dedicated equipment-check program and confirm that its name distinguishes it from routine research methods. See whether the expected user interface is displayed, the instrument starts and the status changes as expected. During a uniform-profile demonstration, record whether the program executes in the intended order. During a gradient demonstration, record the distribution displayed for a representative equipment-check profile and compare the labels with your bench diagram. Use a second operator for an orientation check where possible. Stop and resolve any disagreement between the layout and screen before signing off the check.
Note the result of the functional check in plain language, with a date and who performed it. A useful entry identifies the display functions and mechanical features examined, any exception, and the action taken. If the device will be used under a laboratory quality system that requires independent temperature verification, link the approved verification record to the functional check. That can include the reference device, measurement arrangement and acceptance criteria. Keep mechanical checks, display observations and independent measurement results identifiable within the same equipment record.
Interpret the temperature specifications correctly
The HM-T96 product listing specifies a display resolution of 0.1 °C, general temperature accuracy of ±0.20 °C and uniformity of ±0.25 °C. It also lists gradient accuracy and uniformity of ±0.3 °C. Read these as separate specifications. An instrument can display small increments while the accepted difference from a reference is larger. Spatial variation may also matter at positions that would otherwise be treated as equivalent by the laboratory method. Ask what locations, temperature settings and measurement procedure support each figure before transferring it into your own acceptance form.
A sensible verification record distinguishes the intended differences between gradient zones from variation within each comparison group. In a uniform-mode check, choose the positions and reference conditions specified by the lab procedure. In a gradient-mode check, document the target distribution and how each reference reading is associated with its expected zone. Check the reference instrument's calibration and the approved fixture. Measurements made with an unsuitable probe or inconsistent placement can introduce variation of their own. Where a qualified service provider performs this work, request the individual readings or the level of detail required by your quality system.
The published maximum heating and cooling rates are 4.5 °C/s and 4 °C/s. These figures describe maximum transitions under the specified conditions. For daily planning, record the start and finish of a controlled bench demonstration using the same recording convention each time. Distinguish elapsed time from the total of programmed display intervals. If a timed test is repeated after maintenance, retain its fixture, settings and measurement conditions so a change in procedure can be separated from a change in equipment behaviour.
Prevent layout errors in a shared laboratory
Use one diagram anchored to the physical front of the HM-T96. Label the planned positions, the gradient zone used where applicable, the run identifier and the program revision. If the expected set of occupied positions changes, review the diagram together with the distribution displayed on the instrument and update the work record before proceeding. A second operator should be able to reconstruct the layout without asking how the photo, rack or worksheet was rotated. Save a clean copy of the accepted diagram along with the instrument configuration.
The HM-T96 supports storage of more than 100 programs, according to its product listing. Give saved equipment-check programs and working methods distinctive names. Include a revision convention and document who is allowed to change the lab's master copies. If a program is copied for local use, identify the parent version and record the change. When operators suspect they used a previous setting, the program name alone may be ambiguous. Compare the recorded revision, selected mode and the screen or worksheet entries for the affected run.
Investigate unexpected behaviour before clearing a record
If the map does not match the paper diagram, check orientation, revision, selected stage and control mode. If the lid does not close as expected, pause and inspect seating and approved consumable fit. Repeated mechanical resistance warrants a review of the fixture or service instructions. When readings from a verification fixture disagree with expectations, check probe placement, reference status and the approved conditions before interpreting the discrepancy. Record the first observation and any corrective action, including whether the instrument was cleared for subsequent work.
What to hand over after setup
Give operators the accepted bench-check record, the current manual, the compatible vessel list and a sample run worksheet. Keep the instrument identity and service route accessible, and define which events trigger review, such as relocation, service or a repeated temperature-check discrepancy. The HM-T96 technical information is available from Shandong Hengmei Electronic Technology Co., Ltd. through the HENG MEI Intelligent Manufacturing product page.
Add one periodic housekeeping check to the shared equipment schedule. Review whether the instructions next to the cycler match the current instrument, whether program names are readable and whether the consumable list has changed. Ask an operator to locate a past check and explain the map orientation from that record. If the record cannot be reconstructed, correct the worksheet or training material before the next qualification. Keep the earlier version, the approval date and the reason for the change in the equipment file.
HM-T96 Gradient PCR Thermocycler
Article address:https://www.molecularbio.cn/news/hm-t96-gradient-pcr-instrument-heng-mei-intelligent-manufacturing.html